


Growing up, I always looked forward to Easter. The bunny would hide our baskets, and we excitedly searched high and low for our treasures. We loved decorating eggs, and the holiday was always full of delicious food and fun. I have such great memories of those traditions, that now as an adult, I really wanted to carry them on with my own children. Our faith will always be central to our family, so it's important that my children understand that Easter is about Jesus, and that there is hope in knowing He not only died for our sins, but rose again. But that being said, I also want them to enjoy those simple Easter traditions.
Egg decorating is a favourite around here! The kids enjoy it, and I love trying to find a way to make them pretty.

The steps are actually pretty simple, and you don’t need too many supplies. The kids enjoyed the process, and I was thrilled with how beautiful the eggs came out.
I am going to walk you through the steps, and I hope you will try it out at home!
What you’ll need:
- Eggs (white or brown eggs will work for this, and each will provide different colour results)
- A pair fo sheer nylons (we bought a pair of nylons from the dollar store) Cut the nylons into “tubes” around 6 cm wide
- Kitchen pots or pans ( that you don’t mind being discoloured, just in case, my pots came out unmarked, but you never know)
- Distilled white vinegar
- Small hair elastics or string
- Bowls or jars to store dye and eggs, in the fridge overnight (if you wish
Step 1:Hard boil your eggs
You can hardboil your eggs in whatever method you prefer. Once the eggs are cooked, place them in an ice bath for a few minutes and then let them dry completely on a towel.
Step 2: Make your dyes
From the kitchen I gathered some red and yellow onion skins, 1 cut up beet, frozen berry mix (about 1/2 cup), and a black tea bag. You can experiment with less colours, or try other foods.
Simmer all of these in separate pots with about 3-4 cups of liquid on the stove for approximately 20-30 minutes. The liquid will reduce down. Once you are happy with the colour you’ve achieved, take out the natural matter, add a splash of distilled white vinegar and stir. Let the mixture cool completely. You can place the mixture in mason jars, or bowls if you like.
Step 3: Leaf “printing” your eggs
Attach tiny leaves to the eggs before dyeing them, so that the leaf “print” is left behind. We had varying levels of success with this, and found that fresher foliage worked a lot better than dried leaves. We used cilantro leaves that we had in the fridge, and these were easy to work with and resulted in very impressive leaf “prints’. I would recommend choosing a leaf that has a strong, defined outline, such as cilantro, parsley.
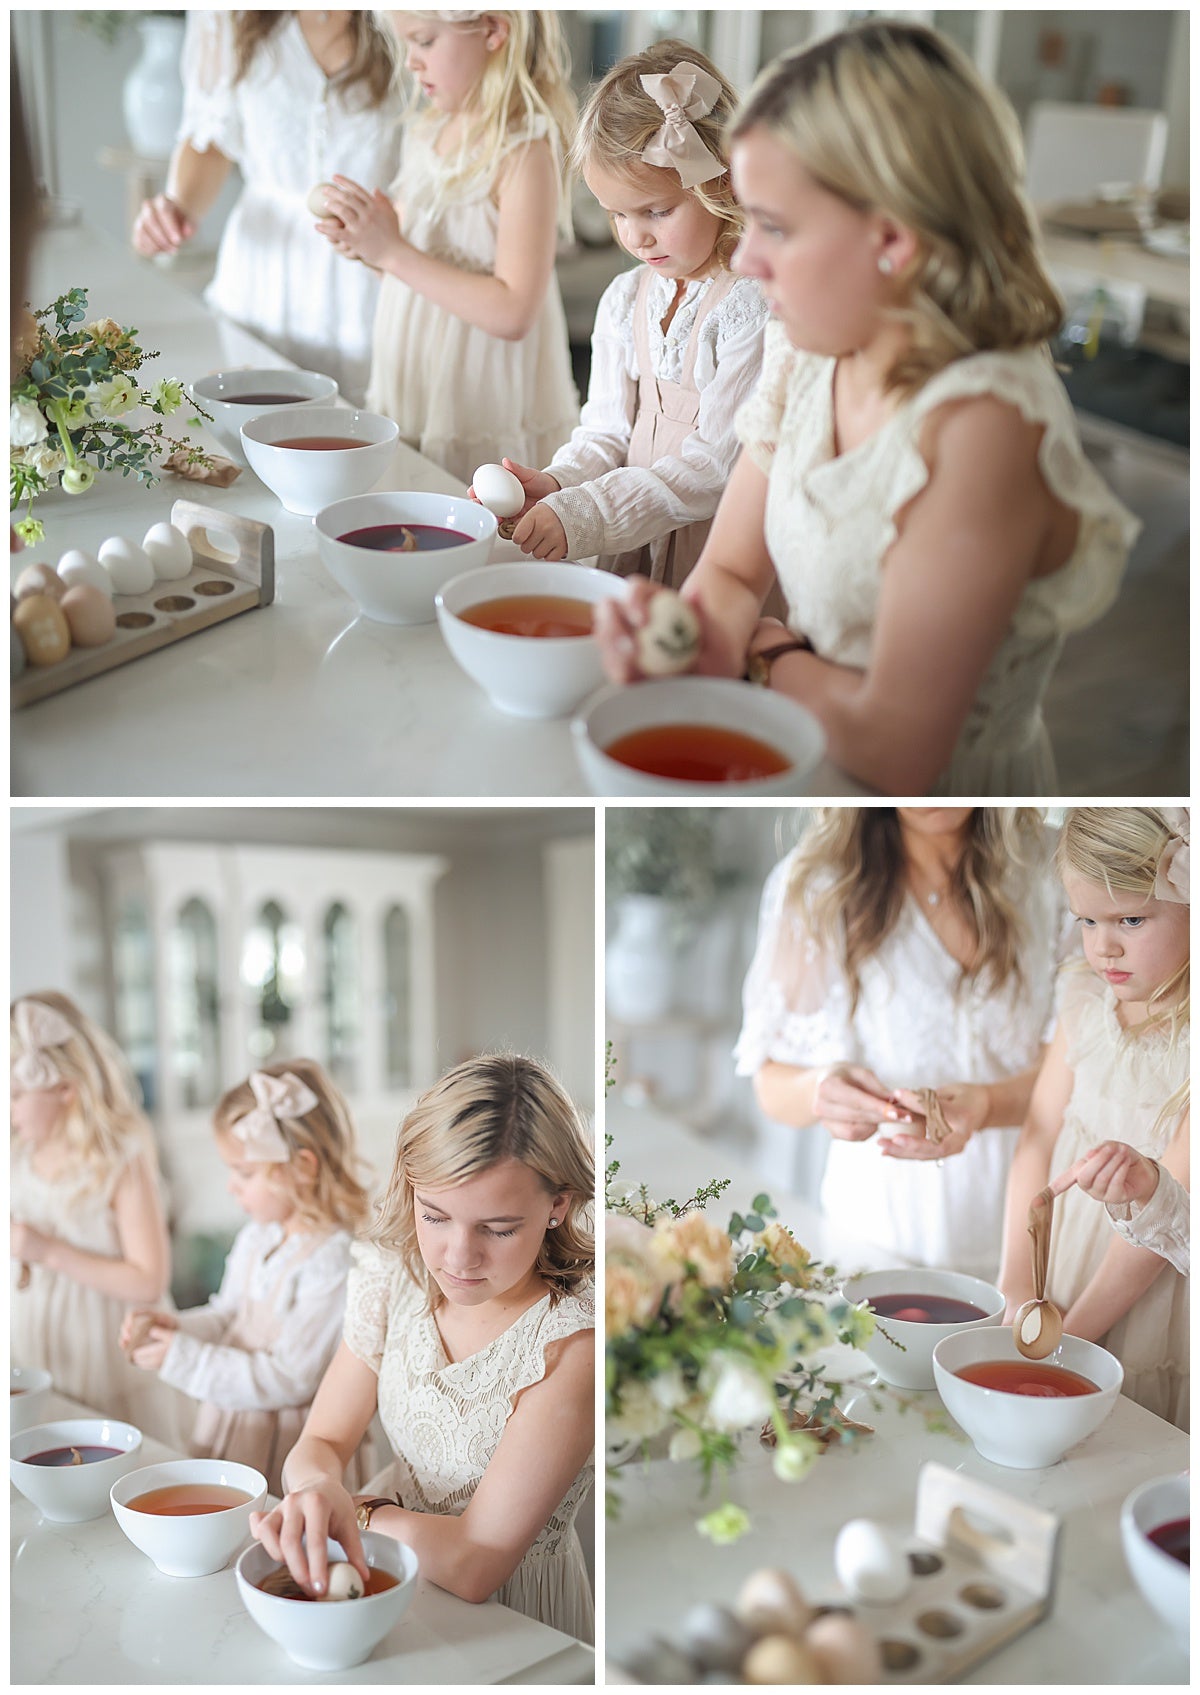
Place the leaf on one of the eggs and hold it in place while you pull a pre-cut piece of nylon over the egg. Secure the nylon at the back of the egg with a small hair elastic or string. Place in the dyed liquid.
We left our eggs in the dye for 1-2 hours. If you wish to have more vibrantly coloured eggs, you can leave your eggs in the fridge overnight. Once you are happy with the colours of your eggs, scoop the out with a spoon and allow them to dry a little before removing the tights and carefully peeling off the leaf.

 There you have it! All the steps, to hopefully inspire you to make your own naturally dyed eggs. This is by no means an exact science so feel free to play with it. And do share with me if you try it, I’d love to see your results! My friend Jackie made me some gold foil personalized name decals for my family to make the eggs even more special. We have our eggs in the fridge ready to decorate our table for our Easter dinner. We tried using the the eggs in our napkin rings, and they worked perfectly!
Thanks for reading, and have a very happy Easter!

Creative Assistant : Jackie from Florescence
Photos : Kristy-Anne of Up And Away Studios